Content:
In order for tulip bulbs to rest after the seasonal growing season, they need to be dug up, dried and saved for autumn planting. Some gardeners do not consider this agrotechnical technique mandatory and leave the tubers in the ground. This is not entirely true. This approach does not affect the bulbs in the best way. Over time, they become smaller, reproduce worse, are affected by various diseases and may not bloom. If nodules are left in the ground for more than 2 years, they go to a considerable depth and are difficult to find when digging up.
Caring for tulip bulbs after excavation in the open field
To save expensive varietal tulips, it is better to play it safe and dig them up, dry the bulbs, process and return to their original place or transplant to another site. Some varieties generally lose varietal characteristics if they are deprived of drying and rest outside the ground. In the next season, flowers of a completely different degree of doubleness and a different color will grow from not transplanted bulbs in the next season. Sometimes flowering does not occur at all, and later the bulbs themselves disappear.

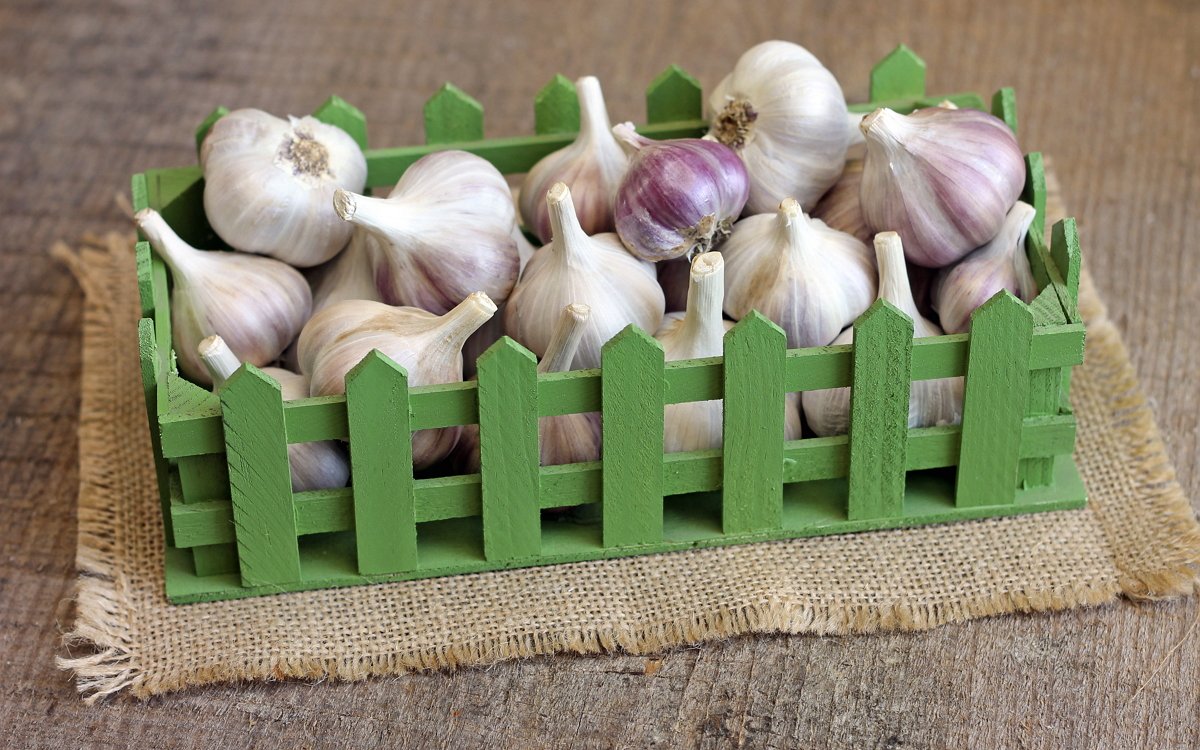
Tulip bulbs
Experts divide all tulips into 3 types: some need to be dug up annually, the second can be removed from the ground after 2 years, the third category can grow without digging up to 5 years.
- Terry late, lily-colored, fringed, green-colored, parrot, Rembrandt tulips - need annual digging.
- Triumph tulips, Darwin's hybrids and simple varieties can sit in the ground without extraction for 2 years, although ideally they should also be dug up annually.
- Kaufman, Foster and Greig tulips can sit in the ground for up to 5 years.
Growers do not set themselves the task of breeding resistant varieties, since it is more profitable for them that gardeners buy new bulbs every year to replace missing tubers. Tulips need to be dug out for another reason, so that their overgrown nest can be divided, all a large number of children in a small space begin to lack nutrients, and this affects the quality of plants.
With the subsequent planting, the gardener has the opportunity to plant flowers in the dug, loose, fertilized soil, creating the most favorable conditions for their growth.
To preserve the bulbs, they must be properly dug up. A dry, sunny day is chosen for work. The best tool to use is a pitchfork. They pry the nest from below, slightly retreating from the landing site, and raise it to the surface. It is not recommended to cut off strong leaves, they will still be able to feed the bulb. If the soil was wet and stuck to the tubers, it is gently cleaned off. After that, the bulbs need to be rinsed with water and inspected to determine if they have rot and suspicious stains. If such areas are found, they are cut out to healthy tissue.

A weak solution of potassium permanganate
Before laying the material for storage, it is soaked in a weak solution of potassium permanganate or any fungicide for 30 minutes. After that, the bulbs are dried in cardboard boxes, laid out in one layer. In order not to confuse varieties, the boxes should be signed, indicating the name of the tulip, because a certain time must pass before planting and you can easily forget where what is stored.
Where to store tulip bulbs until autumn in a city apartment
Before laying for long-term storage, the tubers must be sorted. Those that are suspicious are put in a common box to reduce the risk of transmission of infection to healthy bulbs. Perhaps nodules with signs of disease will lie until planting, treatment with fungicides is quite conducive to this, but even if some of them rot, healthy bulbs stored separately will not suffer.
Some people use nylon nets for vegetables to dry the planting material; it is convenient to hang tulip tubers in the attic or in the barn in them. The drying area should be well ventilated but not exposed to direct sunlight. After 2 days, the old covering scales are removed from the bulbs, the remnants of roots and dried leaves are removed, the nests are separated if they have not disintegrated on their own. Calibration is then performed. Round bulbs with a diameter of at least 4 cm are ideal.

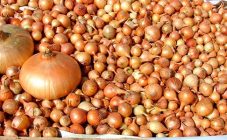
Storing tulip bulbs
Smaller bulbs should then be planted separately from larger ones. Most likely, in the first year after planting, they will not bloom yet.
It is also important to know how to store tulip bulbs until autumn? The condition of the plants next year and their ability to bloom will depend on this. When storing tulips after digging for the first month, a temperature of at least 23-24 ° C is needed. For parrot and fringed varieties, the temperature indicator should be close to 30 ° C. The optimum humidity level is 70%.
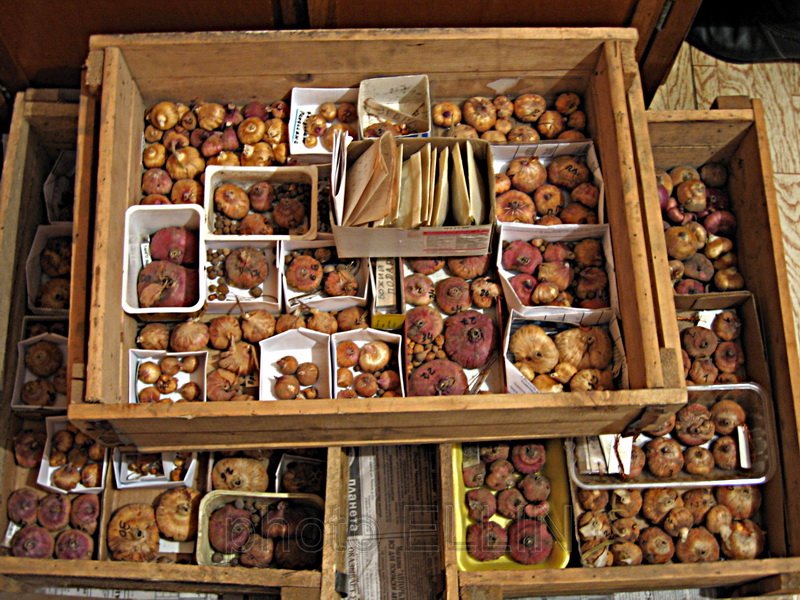
Storing the bulbs
In addition, the room must be well ventilated. Houses are ideal for placing mezzanine tubers, space under the bed, pantry shelves. If there are many bulbs, they can be stored in an ordinary wooden or plastic box, again in one layer. It is during this period that flower buds form in the bulbs, therefore it is important to maintain the temperature regime. Starting in August, it is advisable to lower the temperature to 20 ° C, and in early September - to 15-16 ° C. The Dutch adhere to this temperature schedule when cultivating this crop in greenhouses.
Since it is easier to maintain a certain temperature in a large volume, you can build a special box, the inner surfaces of which will be covered with paraffin, and put it on the balcony. In this case, you need to constantly monitor the temperature with a thermometer (for it you will need to do it in the window wall). There should also be small ventilation holes on the sides of the box.
8 tips to save tulips before planting in fall
For beginners, it is especially valuable to get advice from experienced flower growers who have been successfully growing tulips for several years and replanting them regularly. Practical experience allows such people to confidently make recommendations to other summer residents, which helps to preserve especially valuable and beloved varieties of this culture. So why not put them into practice? Here are some of these tips:
- To keep the bulbs well, they need to be handled with care during digging. The slightest damage makes them vulnerable to exposure to pathogenic microorganisms.
- When storing in a damp room, it is recommended to sprinkle the nodules with sawdust, which will absorb excess moisture.
- To prevent the bulbs from sprouting ahead of time, the storage should be dark.
- When properly stored, the tulip nodules must be provided with air access. It is strictly forbidden to keep them in plastic bags.
- Some growers suggest wrapping each bulb in a newspaper before storing it. This technique helps to avoid excessive loss of moisture in a dry room and protects the tubers from temperature extremes.
- If the planting material was purchased too late, or the summer resident for some reason was late with planting, tulips can be stored until spring on the lower shelf of the refrigerator by wrapping each bulb in a newspaper sheet and folding it into a cloth or paper bag.
- The planting material laid for winter storage is sorted out and examined every 2 weeks. Moldy tubers are washed in potassium permanganate and dried at room temperature for 2-3 days, and then returned back to storage until March.
- If you have a basement, the bulbs can be laid out directly on a dry shelf. Periodically they need to be inspected and temperature controlled. In winter, the basement thermometer should be slightly above 0 ° C.
Corms are stored until the optimal planting dates, which fall from mid-September to mid-October. A more accurate date can be named, focusing on the region and weather conditions.
When to plant tulips
Compliance with planting dates plays an important role in the cultivation of this crop. Planting the bulbs too early can sprout prematurely, which will be damaged by frost. If they are planted late, full rooting will not occur, which means that flowering in spring will come later. The determining factor for planting is soil temperature at a depth of 15 cm. By the time the bulbs are planted, it should be 8-10 ° C. It takes 20-25 days for the roots to grow thoroughly in the soil. The air temperature at the time of landing is usually around 0 ° C or slightly higher.

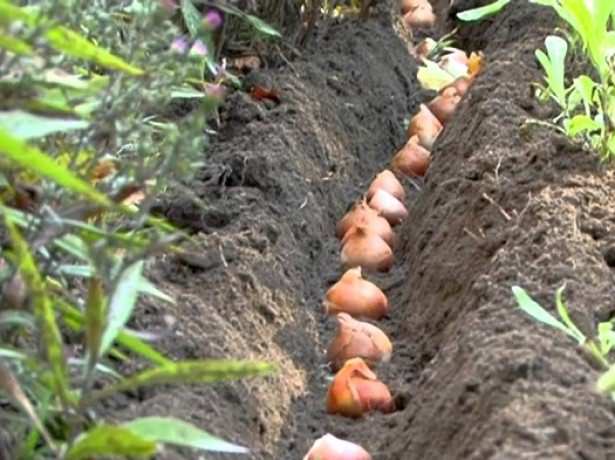
Planting tulips with bulbs
Recommended planting dates for tulips by region:
- The middle band is from early September to early October;
- Siberia - from late August to early September (a little longer in warm weather);
- Middle Urals - mid-September, South Urals - early October;
- Stavropol Territory, Crimea, Kuban - towards the end of October.
It is also worth ensuring the correct preparation of the soil and competently carrying out the planting itself. Heavy clay soil must be made permeable and nutritious by adding sand, peat, rotted manure. The acidity of the soil must be adjusted so that this parameter is in the range of 6.5-7.8 pH. You can acidify the earth by introducing peat; wood ash or limestone will help neutralize acidity. Sandy soil is properly filled with compost and mineral fertilizers.
The dug ground is leveled and furrows are marked for planting tulips. They should be shed for disinfection with a solution of potassium permanganate. For large bulbs, dig holes 8-12 cm deep at a distance of 12-15 cm from each other. Small nodules are planted denser and closer to the surface.
In light soil, the bulbs can be buried a little more, and in heavy soil, vice versa. Before planting, in an area where water stagnates, a sand pillow is laid on the bottom of the hole or a handful of expanded clay is poured. It is advisable to powder the bulbs with wood ash, this will give them additional protection. When planting, they are slightly pressed into the ground so that no air pockets remain under them, and then watered.
After planting, the pits are sprinkled with fertile soil and the surface is leveled so that water does not stagnate in the flower bed during the autumn rains. If it does not rain within the next 5-7 days, the plantings need to be watered, otherwise the roots will grow poorly. To keep the flower bed bright longer in spring, you can plant tulips in one place with different flowering periods or place other early flowering plants nearby.
Transplanting tulips
In the northern regions, after planting, tulips are mulched with peat or compost, the layer thickness should be about 4 cm. If the winters are too cold, you can add a layer of straw on top after the soil is completely frozen.
Tulips, earlier than many other flowers, begin to delight summer residents with bright buds and give a spring mood. The abundance of varieties makes it possible to build effective and original compositions. Proper storage of the bulbs of this culture just allows you to subsequently enjoy its beauty.