Breeding Indokutok from hatching eggs has a high percentage of efficiency. Adding to this the good survival rate of the offspring and its growth rate, we can say that Indo-women are gaining popularity for breeding at home.
Indoor incubation is the process of hatching chicks without the participation of a hen, using special equipment. With its help, you can ensure the stable hatching of musky turkey ducklings throughout the year.
Preparing for incubation
To hatch musky ducklings in an incubator at home, you should pay attention to several points:
- selection of quality eggs;
- competent preparation of eggs;
- compliance with the conditions for incubation.
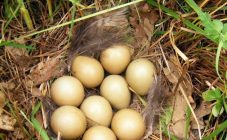
Eggs in an incubator
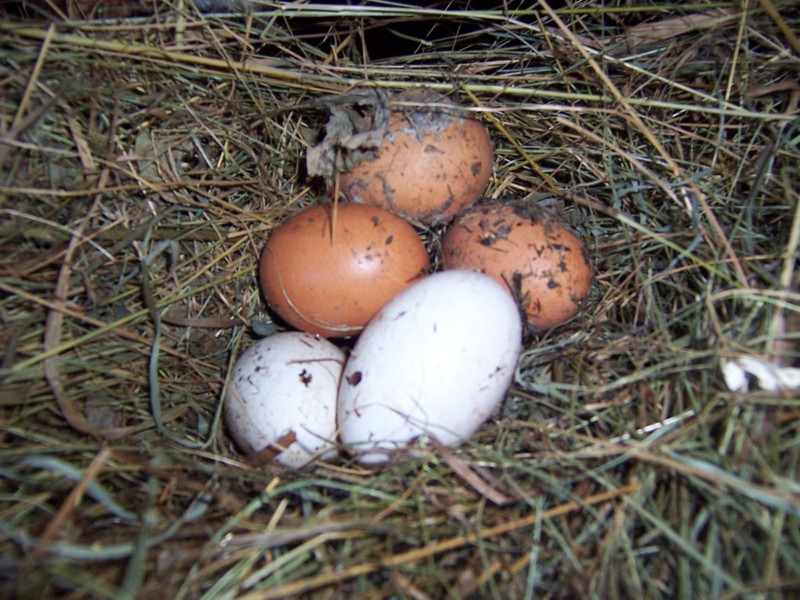
The careful selection of hatching eggs is one of the fundamental factors. Not suitable for incubation:
- elongated or spherical, covered with limescale;
- bluish green - a sign of spoiled eggs;
- small - will give a weak unproductive offspring;
- too large - often with two yolks.
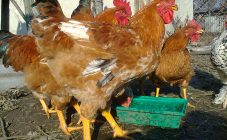
Fertilized eggs should be taken for incubation. It is optimal to keep 1 drake in the norm for 4-5 females.
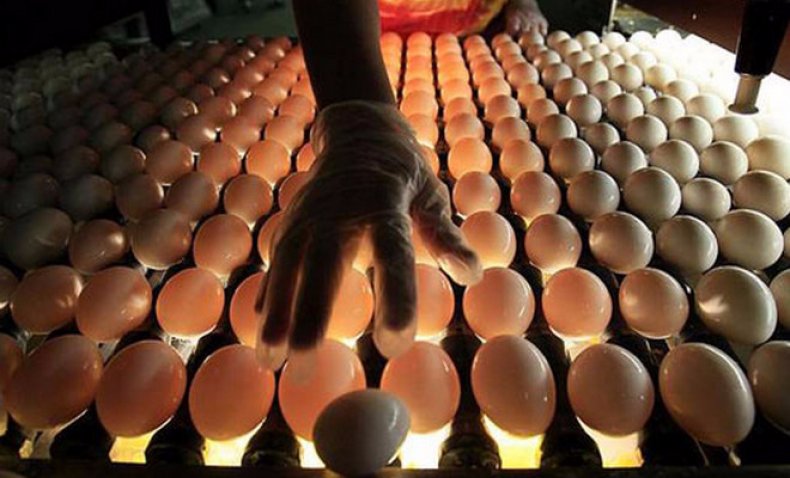
For greater insurance, eggs should be examined with an ovoscope. A healthy egg has an air chamber at the blunt end, and a speck of an embryo in the yolk. Eggs with dark spots under the shell should not be incubated. You should also exclude dirty eggs.
Before incubation, eggs can be stored for 14 days in a cool dry place (10-15 ° C) with a humidity of 70-80%, turning them twice a day. It can be stored horizontally in cardboard boxes. When placing eggs vertically, the blunt end should be facing up. For convenience, you can mark the date of collection from the nest on the egg. The duration of storage directly affects the percentage of hatching of chicks.
Dependence of hatchability of chicks on the duration of egg storage
| Storage duration, days | Hatchability,% |
|---|---|
| 5 | 86 |
| 10 | 81 |
| 15 | 73 |
| 20 | 47 |
| 25 | 8 |
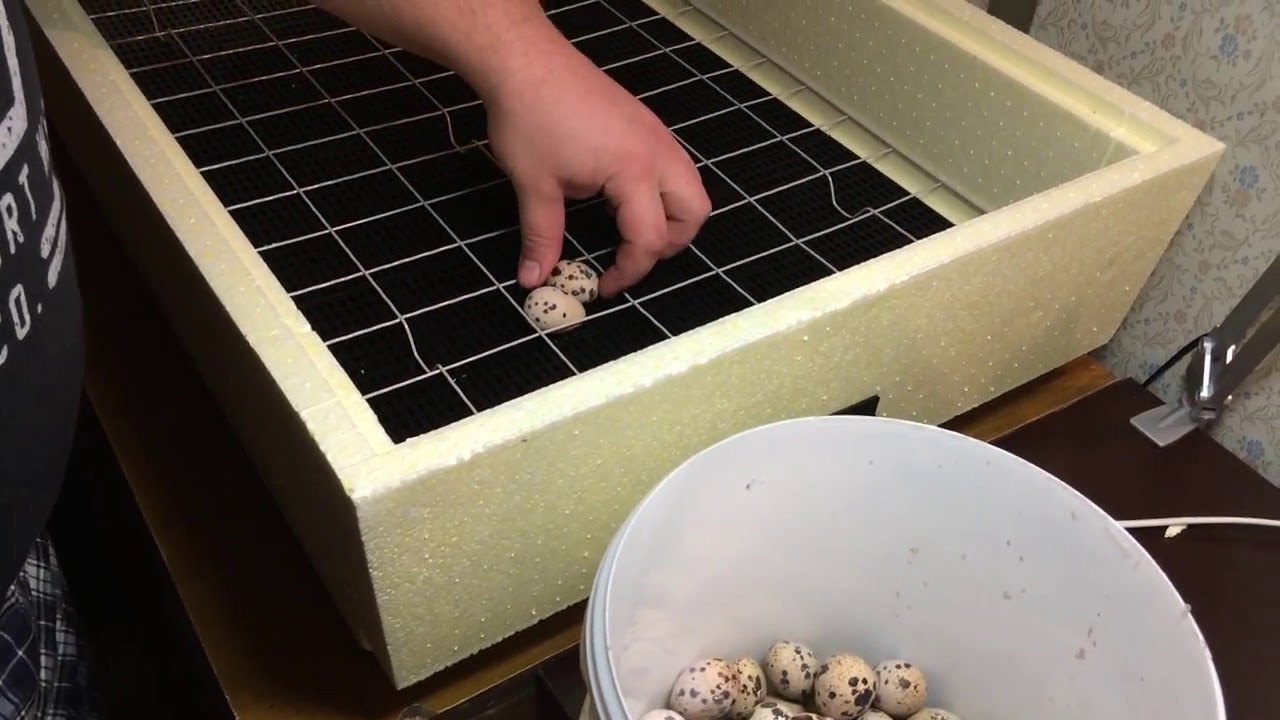
Before laying eggs in the incubator, it is necessary to disinfect them in a weak solution of manganese. The solution temperature should be 30-32 ° C. You should carefully immerse the eggs in it for 5 minutes, and then dry thoroughly.
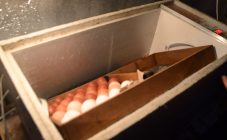
Incubation process
To prevent the development of infections, disinfect them before incubating the eggs of the muscovy ducks. 4-6 hours before filling, the device should be turned on and the temperature set to 38 ° C.
Muscovy ducks incubation at home which is a complex of measures taken takes into account many factors. The process of obtaining offspring can be divided into 4 stages:
- During the first 7 days of incubation, the embryo is formed: internal organs and the circulatory system begin to form. The temperature at this time should be 37.7-38 ° C;
- From the 8th day, the skeleton begins to form. During this period, it is required to form an optimal air exchange in the incubator chamber, since the embryo begins to use oxygen from the outside world. At this stage, the temperature should be reduced to 37.5-37.8 ° C, the humidity should be reduced and sprayed with a solution of potassium permanganate 1-2 times a day;
- From 15 days on, eggs begin to produce heat on their own, so temperature indicators should be carefully monitored. Special attention should be paid to ventilation and humidity, the temperature should be 37.8 ° C.
- After 30 days, the temperature should be reduced to 37.4 ° C and the humidity should be increased. Egg spraying procedures are mandatory. Such activities help to soften the shell, making it easier for the ducks to peck.
Incubation of duck eggs, the incubation mode of which is presented below, summarizes the data on the dependence of environmental parameters on the incubation period.
| Period | Day | Temperature, ° С | Humidity,% |
|---|---|---|---|
| 1 | 01.07.2018 | 38,0-38,2 | 55-70 |
| 2 | 01.08.2014 | 37,6-37,8 | 50-60 |
| 3 | 15-30 | 37,6-37,8 | 45-50 |
| 4 | 31-34 | 37,2-37,4 | 70-80 |
To check the correct formation of the embryos, you can again resort to the ovoscope and the egg weighing system. During the incubation period under normal conditions, the weight decreases by 11-15%.
At the end of the first stage, the following should be clearly observed in the ovoscope:
- a network of blood vessels;
- pink tint of egg insides;
- when swaying - the shadow of the embryo;
- air chamber at the blunt end.
When ovoscoping on days 13-15, embryos become clearly visible, if signs of vital activity are not observed, the eggs should be disposed of.
Eggs need to be disposed of
The final transillumination should be done a couple of days before hatching. Eggs ready to hatch have the following qualities:
- the cavity is opaque, only the air chamber is visible;
- the edge of the camera is unevenly distributed because duckling creates pressure.
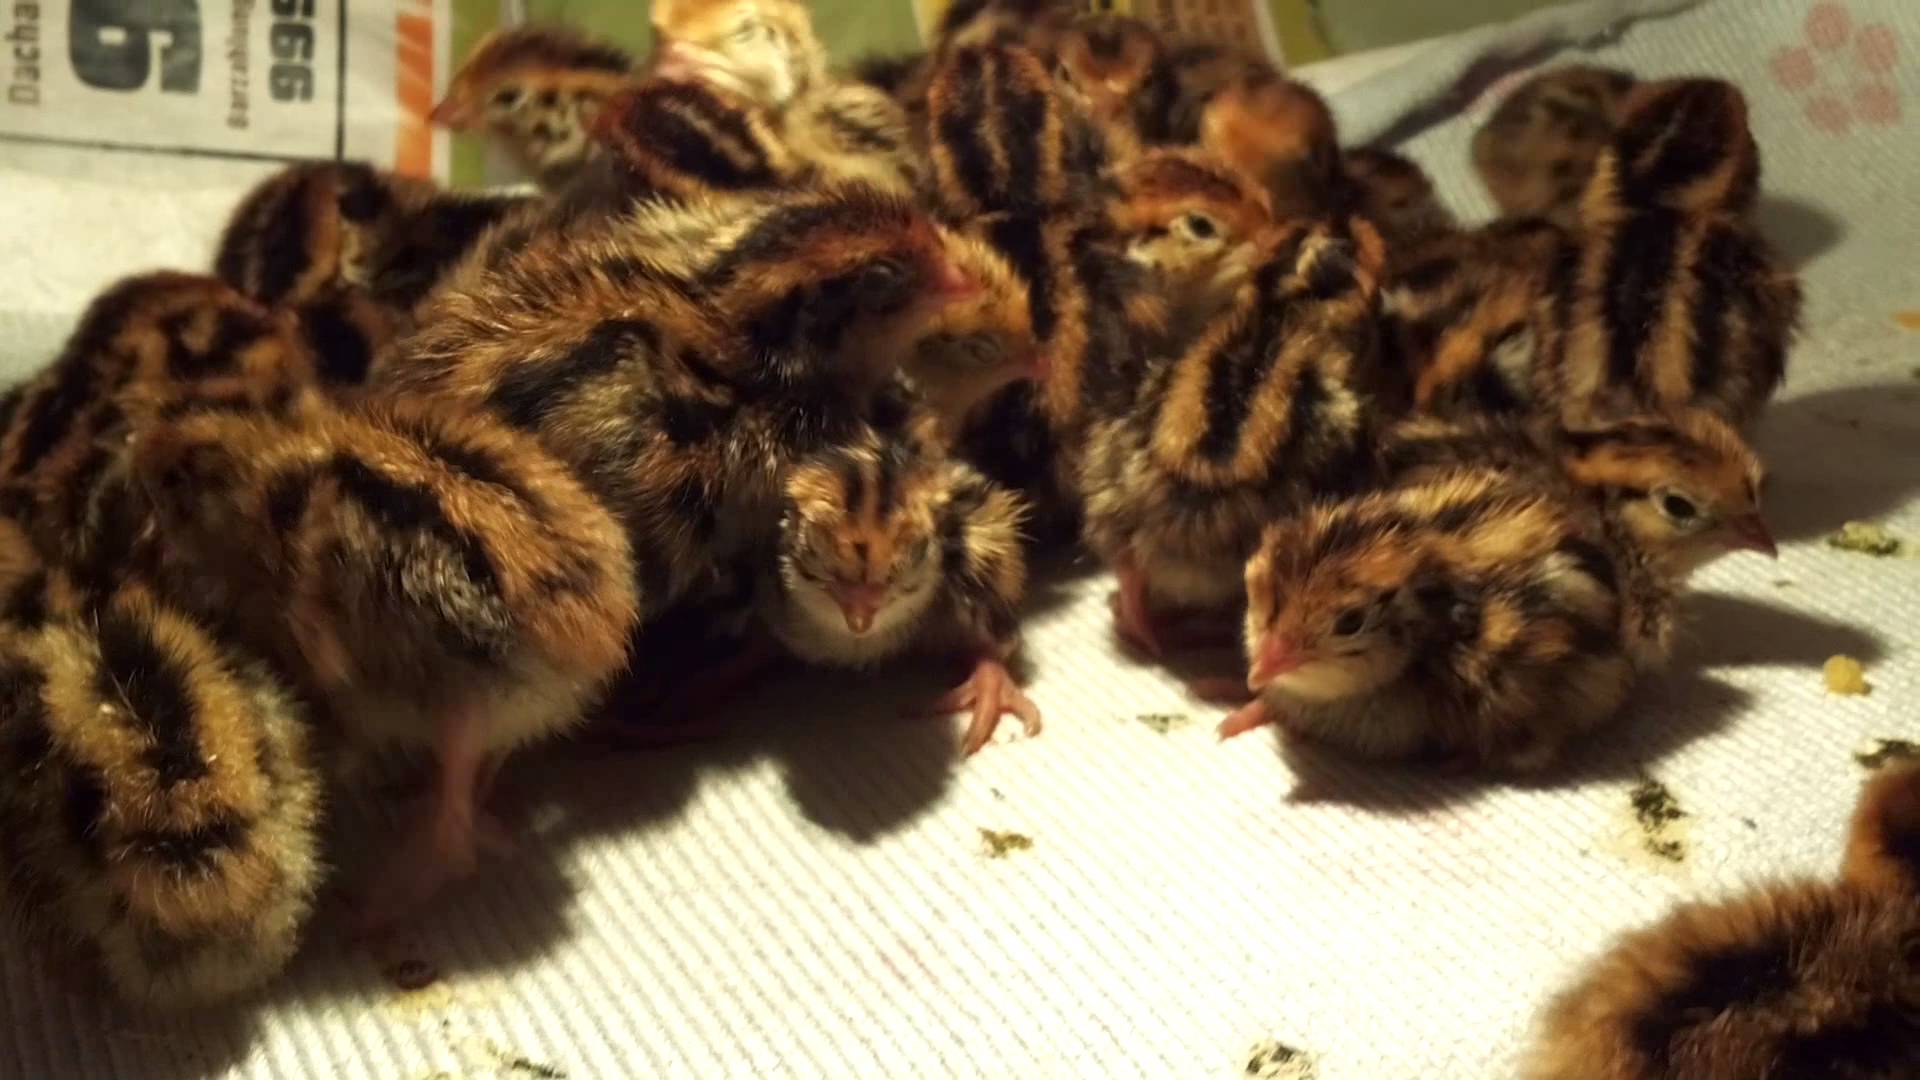
Breeding ducklings in an incubator
In the process, there are many factors that affect the development of embryos. To increase the efficiency of removal, it is necessary to pay attention to the following points:
- maintain a balanced diet of the parent flock;
- carefully choose an incubator;
- establish and maintain the required incubation parameters;
- timely examine and discard the testicles.
Among the reasons leading to a low hatchability rate are:
- inadequate nutrition of parental individuals: duck chicks develop with defects in the work of internal organs;
- violation of the shelf life of eggs: the embryos do not develop and die in the first days of incubation;
- lack of sanitization of eggs and incubator leads to egg contamination;
- violation of the prescribed incubation regime.
Tips & Tricks
To facilitate the recording of overturns, symbolic marks may be applied to the shell.
To control the hatching of ducklings, it is recommended to run the incubator in the evening. Typically, the entire process takes approximately 5 hours.
If the permissible time has elapsed after pecking and there is no exit from the duck, you can break off a small piece of the shell nearby.
Transplanting chicks immediately after hatching is not recommended. It is better to leave them in the incubator until they dry completely (5-6 hours).
In conclusion, we can say that the process of hatching musk ducks in an incubator has a number of things to control. Compliance with the diet and population density of the parent flock will provide the necessary flow of fertilized eggs for incubation.
Competent and careful selection of the initial volume of eggs will allow you to get a high percentage of hatchability. Compliance with the required level of humidity, temperature conditions plays a key role in the early stages. Do not forget about egg turning and air ventilation. Breeding ducklings from hatching eggs is a fun process.