Content:
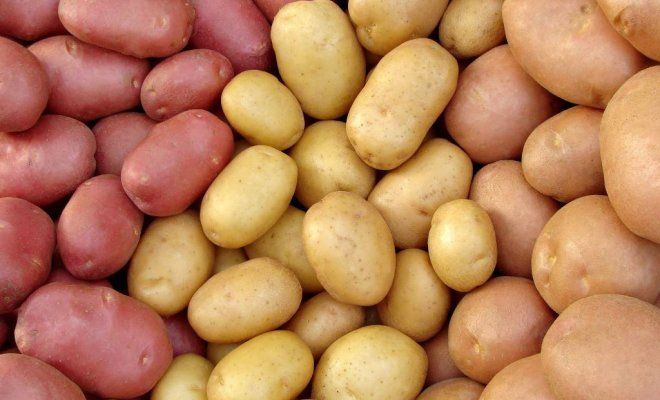
Once the tubers of this culture were considered poisonous. But, having tasted it, mankind appreciated the taste and usefulness of the starchy product. Now it is grown by everyone who has at least some land plot. Those with too small plots have even mastered growing potatoes in a barrel or bucket. There are also such craftsmen who plant tubers on the balcony.
Original technologies
With proper agricultural technology, this crop is capable of producing large yields. Now it is quite possible to get at least a bag of delicious potatoes from one square meter of landings. For this, it is not even necessary to form garden beds - containers for growing can be located next to the house or the master's buildings. Original innovative technologies for planting potatoes in the country are worth adopting.
A barrel instead of a vegetable garden
First you need to find a suitable container. The barrel must be wooden, at least 7 liters in volume and without a bottom (so that excess moisture leaves). To ensure air access to the roots, holes 1 cm in diameter are made along all the walls, distributing them evenly at a distance of 15-20 cm.
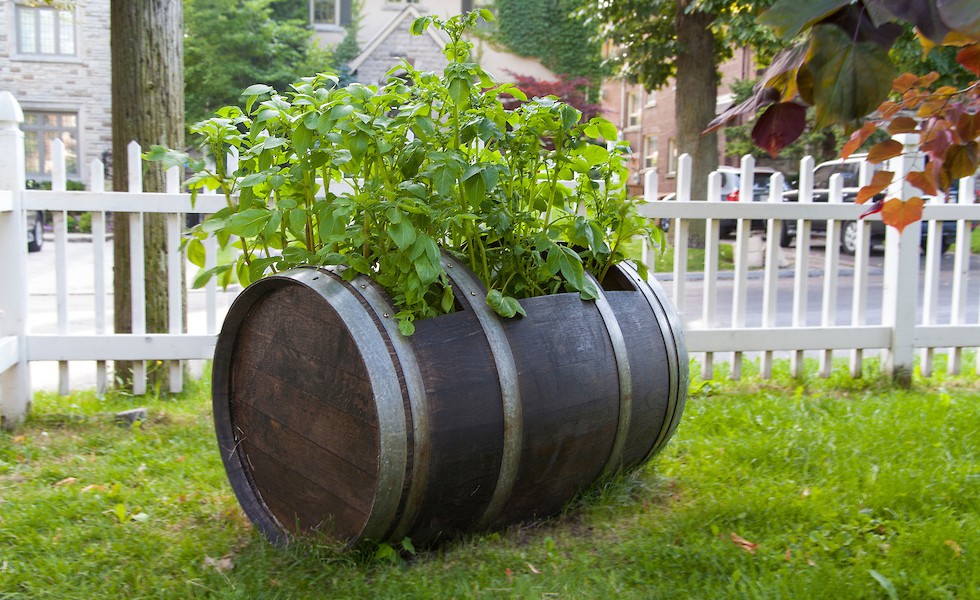
Growing potatoes in a barrel
It is worth worrying about the fact that the tubers in the barrel do not bake from the heat. For this, containers are painted white.
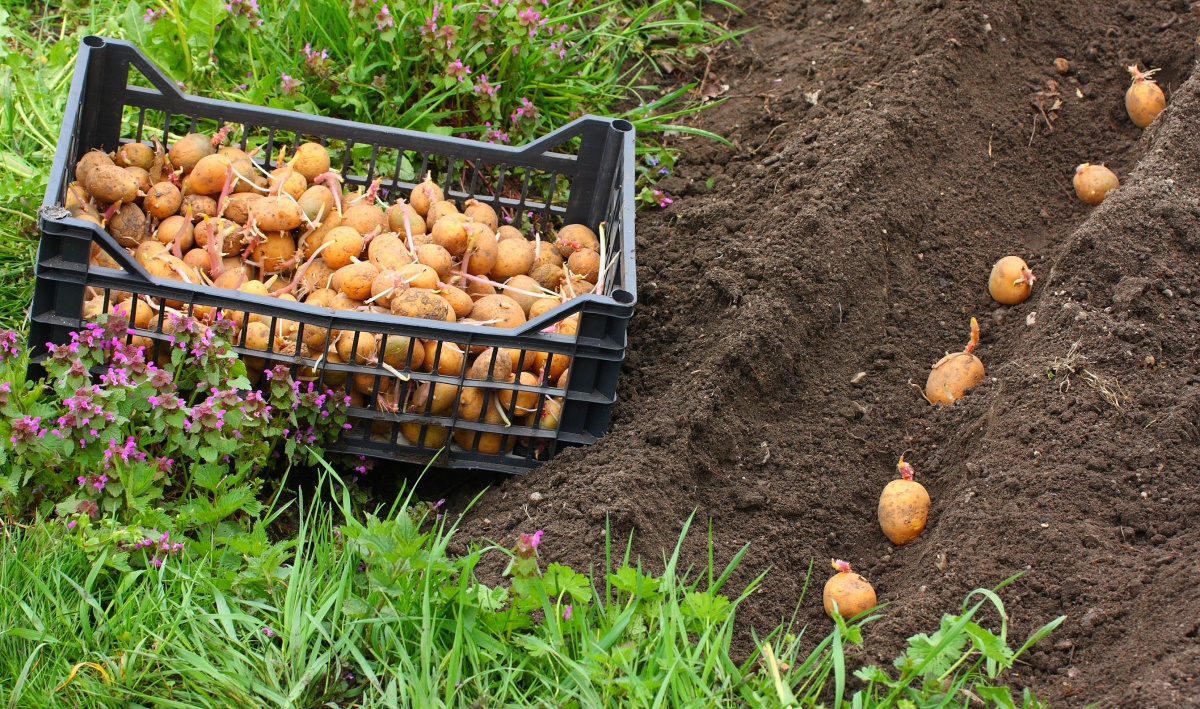
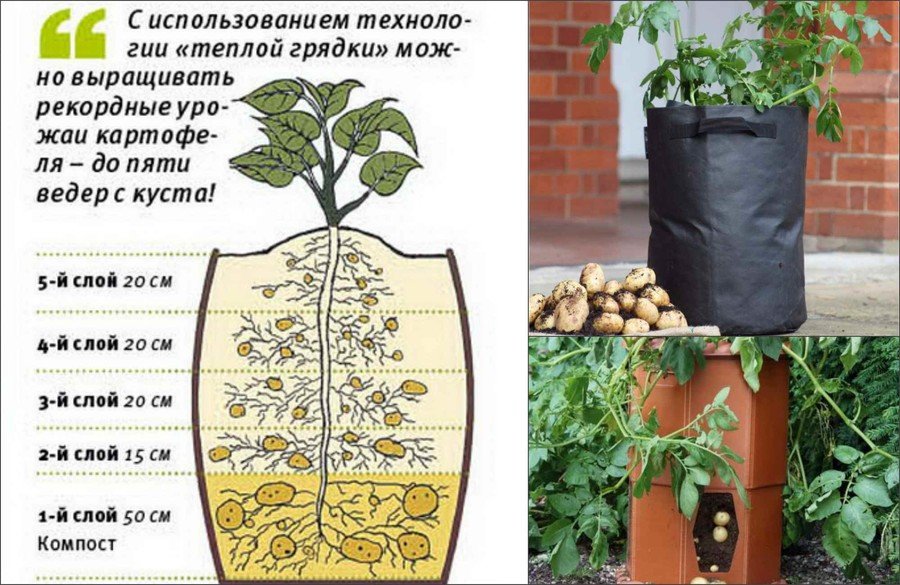
Having prepared the containers, they are installed in pre-designated places and they begin to plant potatoes using a step-by-step algorithm:
- on the bottom of each container, drainage is laid out with a layer of 20 cm, consisting of turf and ordinary soil, as well as the preparation "EM-Bokashi";
- fertile soil is poured onto 2/3 of the barrel volume;
- the tubers are laid with an interval of 20 cm;
- another layer of earth is poured on top (10 cm);
- after waiting for the first shoots, they are sprinkled with another 10-centimeter layer.

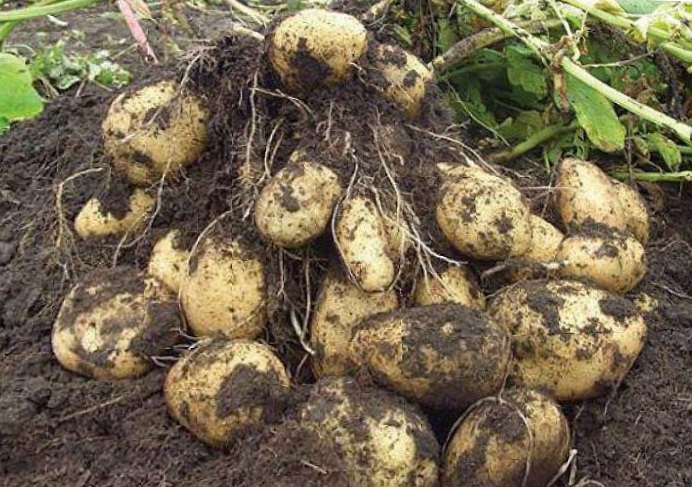
With proper agricultural technology, this crop is capable of producing large yields.
Care principles
It is not enough to plant potatoes in a barrel - you still need to properly care for them. Although with this technology it is easier to do this than when planting in open ground. First of all, you should take care of good nutrition. Therefore, the sprouting of sprouts is combined with dressings.
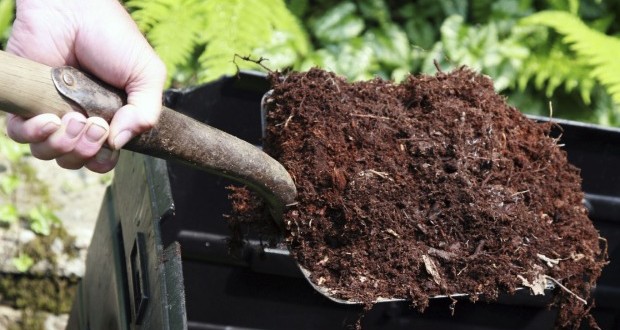
If the soil is mixed with compost or rotted wood dust, the yield will increase significantly. Infusions are also used: organic matter and wood ash, complex fertilizers are applied. A good effect is given by the drug "EM-1", which is fed to the bushes at least 3 times per season.
Fertilizers are especially needed from the second half of July, when the land in the potato “flowerbed” was exhausted. Additional dressing is combined with watering, which should be abundant. The optimal amount of irrigation is 3-4 times until the tops grow (and even more often in hot summers).
A special substrate under the barrel will help accelerate germination. When installing containers on the site, it is recommended to choose places where grass grows. But you can just put small young twigs under the container.
Mix the soil with compost or rotted wood dust
Advantages of the method
Some wonder how you can grow potatoes in a barrel, considering this technique an eccentric whim. But if we consider the advantages of the method, then the irony is reduced:
- the method does not require much effort, since there is no need for weeding, loosening and hilling;
- significant water savings are observed - moisture goes directly to the roots;
- the yield of tubers from one bush is much higher than with the traditional method.
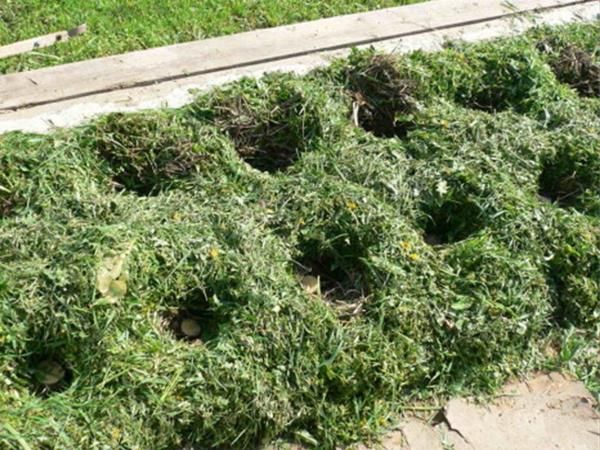
Mini-beds in buckets
Another unusual method that summer residents began to practice on six acres is growing potatoes in old buckets. But you only need to use plastic containers - in metal, the earth will overheat. It is not necessary to remove the bottom in this container - it is enough to drill holes.
Such mini-beds do not take up much space, so you can arrange them in any corner of the garden. The method also attracts with mobility - if the bushes are not comfortable, the buckets can be moved to another area, or sent to the greenhouse (or to the veranda) during the frost.
The technology in this case is identical to that used for growing potatoes in a barrel, only one, but rather large tuber is put in a bucket.
Potatoes in a bag
If you don't have any barrels, not spoiled buckets at hand, you can take ordinary bags of cereals or sugar. They are half filled with rotted manure (while the edges of the bag should be wrapped). Potatoes are buried in the nutrient mixture and sprinkled on top with a small layer of soil.
Vertical beds are placed in a sunny place and, periodically watering, wait for the shoots, which are covered with earth. The technique is the same as in previous cases, with only one difference - it is necessary to gradually turn the edges of the bag.
You can use another option, which will allow you to feast on young potatoes in May. In this case, the bag is completely filled with heated soil and tied. Having made small holes in the canvas, potatoes are buried through them (strong eyes can also be used).
Dutch planting

Dutch planting
For this technique, a small plantation will have to be set aside, because potatoes will be planted in the furrows. This is not really a trench, and such depressions are made in the ground by hand, without the use of a shovel. True, at the preparatory stage, you will need a walk-behind tractor (cultivator) to plow the land in the fall. After such treatment, the soil becomes looser and more pliable.
But first, you need to etch the weeds with systemic herbicides (for example, you can take Roundup). Withered grass is crushed during cultivation and becomes a good fertilizer for the soil. In the spring, it is advisable to plow the land again so that it becomes "fluffy".
To make it easier to care for the plantation, and all the tubers ripened at the same time, you should take care of how to plant the potatoes evenly. First, a breakdown is made, marking with pegs the places of the grooves, the dimensions of which should be the same. Next, a hoe is taken, and the following scheme is maintained: the distance between the grooves is 80 cm, the depth of the fossa is 10 cm.
Planting material is prepared in advance, starting germination 3 months before being sent to the furrows, in order to get not only strong eyes, but also adventitious roots.
Each potato fits into the hole exclusively with sprouts up. At the same time, a distance between the tubers of 35 cm is maintained in the furrow. It is necessary to level the ground with a rake so that all the furrows are filled up.
Sprinkle over the planting with wood ash, compost, peat and a small amount of mineral water. When the rain passes, this nutrient will fall into the pits.
Growing pyramid
The peculiarity of this method is that a neat mound is formed over each bush - a pyramid. This technology is also called Buryat and is popular where the terrain is a kind of turfed ravine.
To begin with, a square is set aside for the tuber, the side of which is 0.5 m. A small hole is made in the center, manure is placed in it. We put the tuber sprouts up, cover it with another layer of organic matter and cover it with earth, forming a low pyramid.
As soon as the first leaves break through, the earth is piled on them from four sides, completely covering the tops. The geometric figure is formed until the bush reaches the desired height (about 15 cm).
Potato rejuvenation
Each farmer has his own favorite potato variety, which they try to grow from year to year, taking seed tubers from each harvest. But experienced gardeners know that in this case, the selectivity deteriorates, the tubers become smaller, and after 5 years, planting will give a meager crop of potatoes with deteriorated qualities.
To prevent this from happening, they carry out a potato update at home. At the same time, it is not necessary to buy a new variety on the side - it will be cheaper to rejuvenate your seeds if you take into account the advice of experienced farmers.
Seed Potato Rejuvenation Techniques
| Option | Description | How is |
|---|---|---|
| Using seeds | After flowering, small green balls form on the bushes - they contain seeds. Not all gardeners know that potatoes can also be grown from them; · It will take a long time to breed the planting material. But the result will be a disease-resistant tuber; Collected seeds can be stored for 10 years | · The balls are placed in a canvas bag and hung for further ripening (warm and light); · When the flower fruits soften and brighten, the seeds are taken out of them, washed well and dried; Having planted next year, they receive seed tubers, which are not used for food, but are left for planting in the next season |
| Cloning | The essence of this method is that mini-fruits are grown from a sufficiently large tuber, which will become seed material next year. | · In the spring, leave several large tubers in the cellar and spray them during the summer. At the same time, optimal conditions are created: low temperature and high humidity; · In the second half of autumn, you can already see a well-developed root "loofah" on the potatoes, in the branches of which small nodules have formed; After collecting mini-potatoes, they are dried and left until spring to use in sowing. Fine mesh is suitable for storage |
| Cuttings | Oddly enough, but cuttings can also be obtained from potato tops. To do this, select the largest and strongest bush on the garden bed, which should be marked (for example, tied with a red ribbon) | · When the bush fades, but does not wither, all stems are cut off from it and the middle part is divided into cuttings 4 cm long, leaving at least 1 leaf; · Withstand 4 hours in a weak potassium permanganate; · Planted in a shaded place, keeping a distance of 3 cm between cuttings, 20 between rows; · Cuttings are buried in the soil by 60%, placing them vertically; · The beds are mulched (straw is suitable) and watered well; · After the crown turns yellow and dry, wait another 2 weeks and dig it out; The nodules are disinfected in potassium permanganate, dried in the sun and packed in burlap so that they can be planted in the beds next season |
| From tuber tops | · For this method, the potatoes are selected in advance - during harvest. Take the largest, undamaged tubers and store them separately until spring; · The remaining potatoes from cutting are immediately planted in the ground in a standard way; · Top-planted and regular beds should be delimited. From the experimental plot, the crop must be left as seed for the next season | · The apical part of the tubers together with the sprouts are cut by about 1/3; · Placed in a box with sawdust to continue germination, while constantly moistening; · Roots are formed in 3 weeks, and the tops can be planted in the beds. The hole should be 5 cm deep and the distance between the tubers should be 30 cm |
| Sprouts | · This is the fastest way to renew a variety. One tuber is capable of producing material for 40 bushes; · During germination on fruits, sprouts of different size and strength are formed. They are all suitable for this method; You can plant sprouts directly on the beds or first grow in pots | · Juicy, strong green eyes are taken together with the rudiments of the roots and planted separately; · Pale, frail cut into pieces (according to the number of available kidneys); · All sprouts are buried by 2/3 in a well-fertilized soil; · Top dressing is carried out with alternation of components: 1 week - ash or herbal infusion, 2 - biohumus; In the process of harvesting, the largest tubers are selected for the seed material of the next season |
In the autumn sorting of the harvested crop, some gardeners leave the best fruits for food, and put small potatoes on seeds. With this approach, degeneracy will come in 2 years. In order not to carry out frequent rejuvenation, it is better to use, on the contrary, high-quality large tubers for reproduction.
How to grow potatoes at home
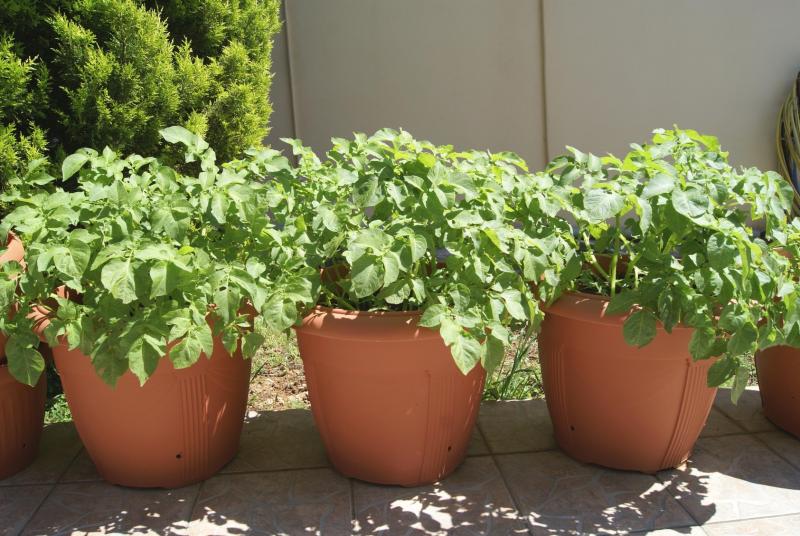
Large flower pots can be used
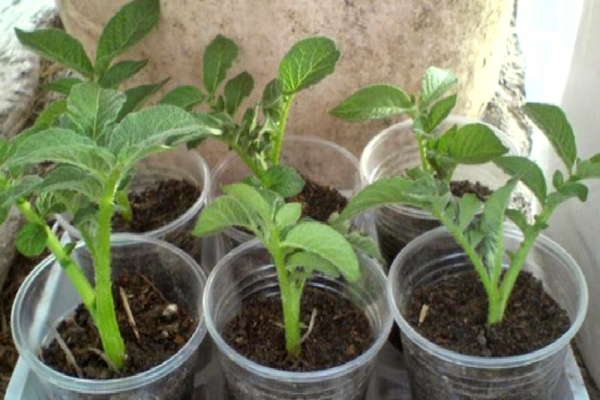
The technology of growing potatoes in containers is quite acceptable in order to use it in city apartments (on balconies, in loggias). Barrels may not fit into the dimensions, but buckets and bags will do just fine (you can also use large flower pots).
In this case, it is recommended to grow potatoes in 2 stages, this will help increase the yield. First, they are engaged in seedlings, keeping them on the windowsills. When there are 10-12 good leaves on the bushes, the seedlings can be sent to containers on the balcony. This method will allow you to get an early harvest, because the seedlings can grow in March, when it is still cold outside the windows.