Content:
People living in their private homes may face a problem such as the accumulation of excess moisture under the roof. This adversely affects the properties of the thermal insulation layer. There is a cardinal solution - the dismantling of the roof with the subsequent replacement of the entire insulation. This method is quite expensive and time-consuming, not to mention the fact that it cannot be used in every season. The second method is to install a device such as a roof aerator.
Roof aerators, what are they?
A roof aerator is a device that is designed to provide ventilation under the roof. With its help, you can avoid the accumulation of moisture, extend the life of the roof and the preservation of its properties. This process is called "aeration", which is why the name of the device came about.
Aerators are designed to provide air condensation and are installed directly on the roof covering. Since roof structures and coating materials differ, aerators have their own installation and operation characteristics for each type.
Principle of operation
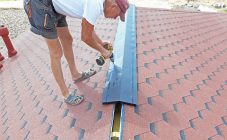
Roof mounted aerator
The principle of operation is based on one of the laws of physics, in which excess moisture can be evaporated - this process directly depends on the speed of humid air circulation. The air temperature outside and in the room is very different, in this regard, it becomes necessary to provide diffusion processes in which different types of gaseous medium are mixed. This can lead to a decrease in indoor temperature, and moisture will collect under the roof surface. In contact with the external environment, ideal conditions will be created for its extrusion. It is on this law that the principle of operation of the device is based, in fact, it all comes down to using an aerator for ventilation.
There are several varieties to suit different roofs. For example, aerators for metal tiles, for flexible tiles and others are sold. If there is no knowledge of how to properly install these devices, then it is best to use the services of a wizard.
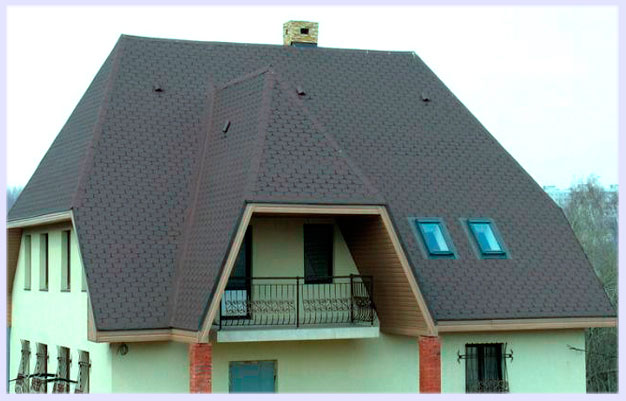
Pitched roof aerator
The pitched roof has a sloping surface. However, often space in attics becomes difficult to pass and often resembles a warehouse. From this it follows that the need for insulation and installation of additional ventilation disappears completely. The optimal angle for a given roof is usually between 30 and 50 degrees. On a pitched roof, snow actually does not accumulate, since it simply rolls down, but an unwanted load from the winds appears.
Mounted pitched roof aerators
The supporting structure consists of timber rafters and lathing.Insulation is usually placed between the rafter legs and the inside, after which it is insulated with a vapor barrier. In any case, there is moisture in the air of a dwelling, the coating protects the insulation from moisture. On the outside, a special film is arranged against moisture and water, which protects the insulation from rainwater and condensation.
At first glance, the structure has no flaws, but no coating can absolutely protect the roofing cake. Consequently, humid air accumulates and stagnates under the roof covering, due to which wood rot and steel corrodes. Installing aerators allows you to fight this problem, since the devices create fresh air circulation.
Point-type devices are mounted at the highest point, approximately 150 mm from the ridge. Outside, the air is colder, and it, getting into the under-roof space, becomes warmer, respectively, according to the laws of physics, it tends to rise up. The result is simple air circulation.
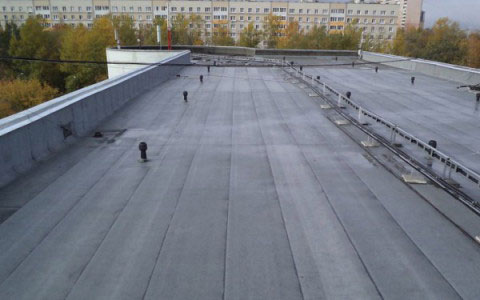
Flat roof aerator
In flat versions, the roof has a different structure: the floor slabs are leveled using cement-sand screeds, after which the insulation is laid. Then, another cement-sand screed is mounted on top of the insulation, or two layers of flat sheets of asbestos cement are used. After installation, the weld-on roofing carpet is firmly bound to the screed. However, during operation, materials can experience temperature drops in the external environment. The coefficient of thermal expansion of concrete, cement, asbestos and bitumen varies quite strongly, therefore unwanted stresses arise from here. Coupling and connections are broken, respectively, air bubbles appear.
Flat roof aerators
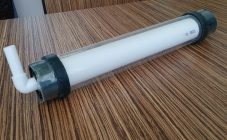
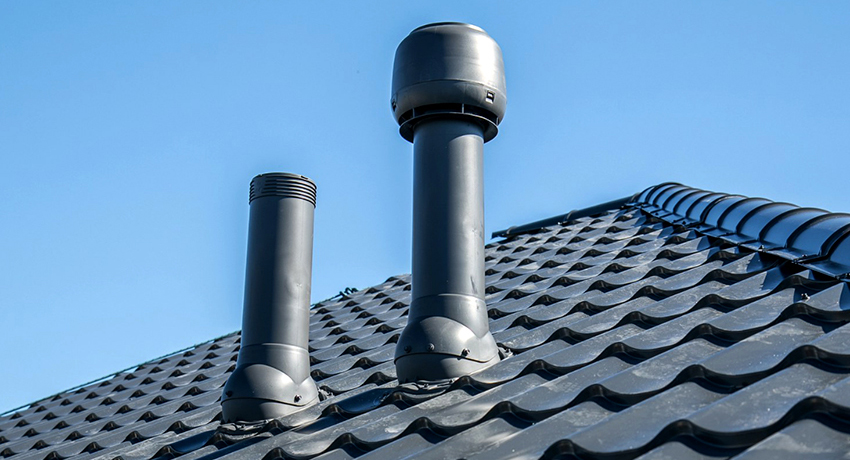
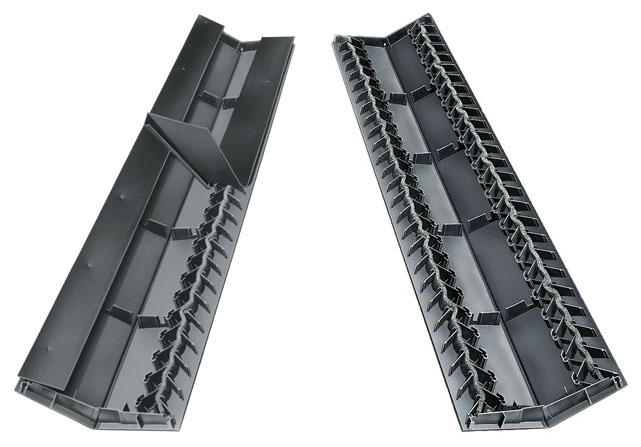
Aerators that are used for roofing made of bituminous materials of a guided nature do not differ in special design features, they consist of ordinary elements:
- skirts;
- tubes;
- cap.
Typically, aerators are made from high strength polypropylene and can withstand temperatures ranging from -50 to +130 degrees Celsius. Such devices for a roof with an area of 80-100 m² should be located at a distance of 12 meters from each other.
Advantages and disadvantages
The main advantage of the devices is the ability to remove most of the moisture, which helps to avoid damage to the roof. This leads to the durability of the materials and even protects the roof from leaks. Removing moisture can cause the metal shingles to not corrode or cause a similar problem to occur later. Plus, a dry roof retains thermal insulation properties better. This will make it possible to seriously save on heating. It also helps to maintain a favorable microclimate in the building, which, in turn, helps to avoid the appearance of fungus and mold.
Also, aerators are a fairly budget option for eliminating unwanted moisture in the roofing cake. In 2018, their cost varies from 300 rubles to 5000 rubles per piece. Now on the market there is a huge variety of aerators from different companies, both foreign and domestic.
Among the shortcomings, one can single out the inability of point aerators to provide proper ventilation of the entire roof covering, this can lead to the appearance of an area where air will stagnate.
Classifications
Aerators have many classifications. Below is the most popular one:
- Spot - devices that look like a mushroom and have a fan. Designed for installation over restricted areas.
- Continuous - a distinctive feature is uniform placement over the entire surface of the roofing cake. They are often installed together with a tile roof ventilation system.
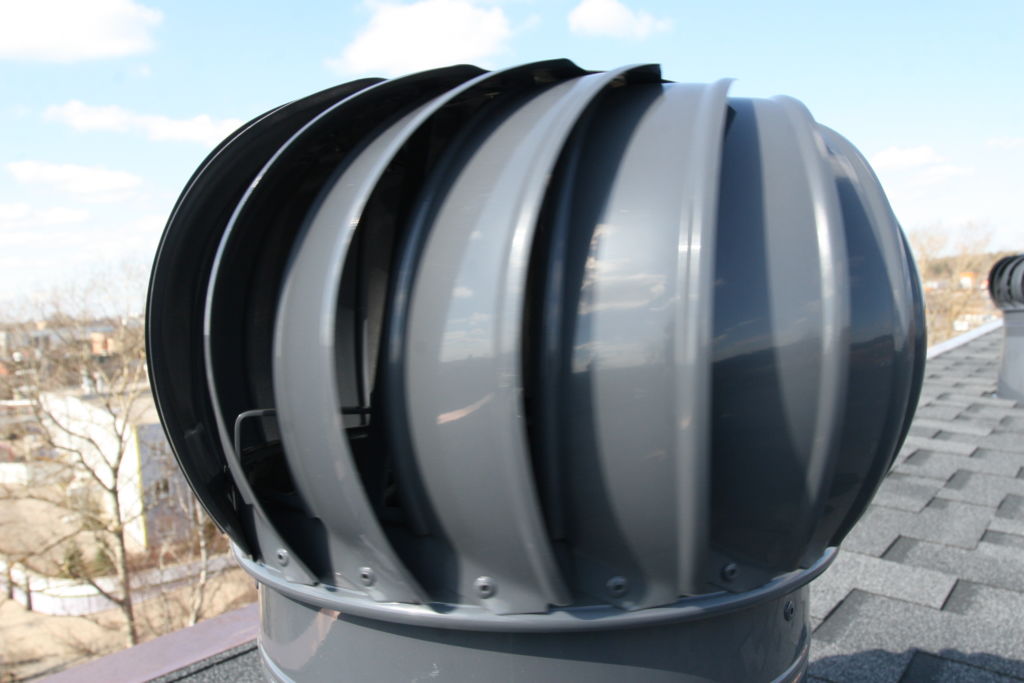
- Turbine - looks like a pipe with an electric drive or a fan installed on top. It is recommended to buy such aluminum products - they are not subject to corrosion, and their shape does not deform under the influence of high temperatures.

Turbine aerator
Top Models
There are many devices on the market that are designed to remove moisture under the roof. Below are the most popular in Russia.
"Polyvent"
The Polyvent aerator is a line of devices for ventilation of the roof space. It contains both ridge and point aerators. The manufacturer of this line is the Technonikol company from the Russian Federation.
Docke
The products of this German company are designed for installation on horizontal skates. The Deke ridge aerator provides excellent ventilation and is of unsurpassed German quality.
Airidge felt
Aerators from the Finnish company SKTuoteOy. They are made with the use of new technologies, which helps to avoid deformation of the ridge, and the unique location of the air grooves provides the best ventilation and excludes the ingress of moisture from atmospheric precipitation.
Tegola
The Tegola special aerator is a Russian-made device that perfectly protects against moisture and provides excellent air circulation.
Vilpe
Devices from the already well-known Finnish company SKTuoteOy. Available in a wide range of colors, the devices are characterized by ease of installation, corrosion protection and durability.
Ridge Master Plus and Hip Master
A couple of American companies that mainly produce high quality ridge aerators that are good at eliminating condensation and regulating the microclimate.
Ridge Master Plus and Hip Master Aerator
"Aquasystem"
The KTV Aquasystem aerator is a chiseled model from the Russian manufacturer Stroymet. It has proven itself well on the market, it is easy to install and functions properly for many years.
Installation of roof aerators
Each type of aerator has its own characteristics and installation methods, which are described in detail in the instructions for them.
Installation of ridge aerators
This type of aerators is the easiest to install, but due to the fact that it must be installed along the entire length of the ridge, you need to have the exact dimensions of the roof and correctly calculate the number of devices. It is recommended to install them on a roof with a slope of 12-45 degrees.
Operating standards:
- It is imperative to have holes in the overhangs to facilitate air flow.
- Install devices along the entire length of the ridge so that they form one system.
- Tiled skates are usually placed on top of the aerators, thus masking the devices and not spoiling the appearance of the roof.
Installation technology is carried out in compliance with the following steps:
- Using a circular saw, a groove is cut out at the base for ventilation and other system needs. If only 1 aerator is installed, then the hole should be located at the top of the ridge, if two - on the sides of the ridge. The slots are made in such a way that they break off 30 cm from the edge of the ridge.
- Ridge tiles should be located on the sides of the ridge.
- All segments must be folded with each other, for example, the details of the designer. The aerator is attached to the roof using special elongated nails or screws.
- The profile of the aerator is covered with tiles. The petals are overlapped.
- After that, it is necessary to seal the ends of the aerator where it comes into contact with the roof.
Installation of point aerators
If it is not possible to install ridge aerators, then they can be replaced with point ones. They need a little more, but you also need to calculate the area for mounting them.
As a rule, they are used:
- On roofs where the slope is less than 12 degrees, or on flat structures.
- For a more efficient ventilation system or as an add-on.
- In cases where the installation of a ridge-type device is not possible.
Operating standards:
- Mounting is carried out on slopes, with a distance of 0.5-0.8 m from the ridge edge.
- One aerator can ventilate from 5 to 100 m² of the roof.
Installing the spot aerator
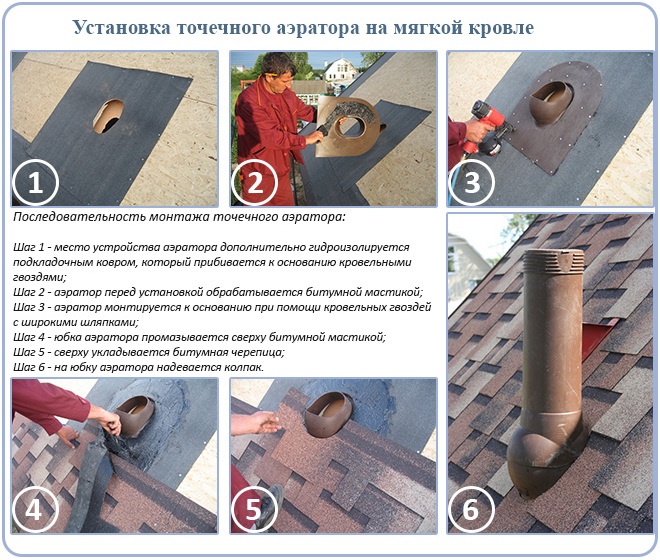
Installation technology:
- A hole is cut to fit the internal clearance of the duct next to the aerator.
- After that, the aerator skirt is mounted, which is attached with special roofing nails or other fasteners.
- The top of the skirt is glued with waterproofing materials.
- The skirt is glued with shingles with shingles, cutting slightly at the points of contact.
- The aerator mesh is put on over the skirt, after which it is attached with self-tapping screws. After that, the cap is installed and also fixed with fasteners.
Thus, using tips and instructions, you can quite successfully install aerators of any type of model on different types of roofs. The devices will improve the moisture content in the house, extend the life of the materials from which the roof is made.